Setup guide
Manager onboarding, end to end
Both paths — solo owner and staffing agency — from the first screen to a working dashboard.
Guide 1 of 3 · 21 slides
Both paths — solo owner and staffing agency — from the first screen to a working dashboard.
Swipe, use the arrows, or press ← →.
Setup guide
Both paths — solo owner and staffing agency — from the first screen to a working dashboard.
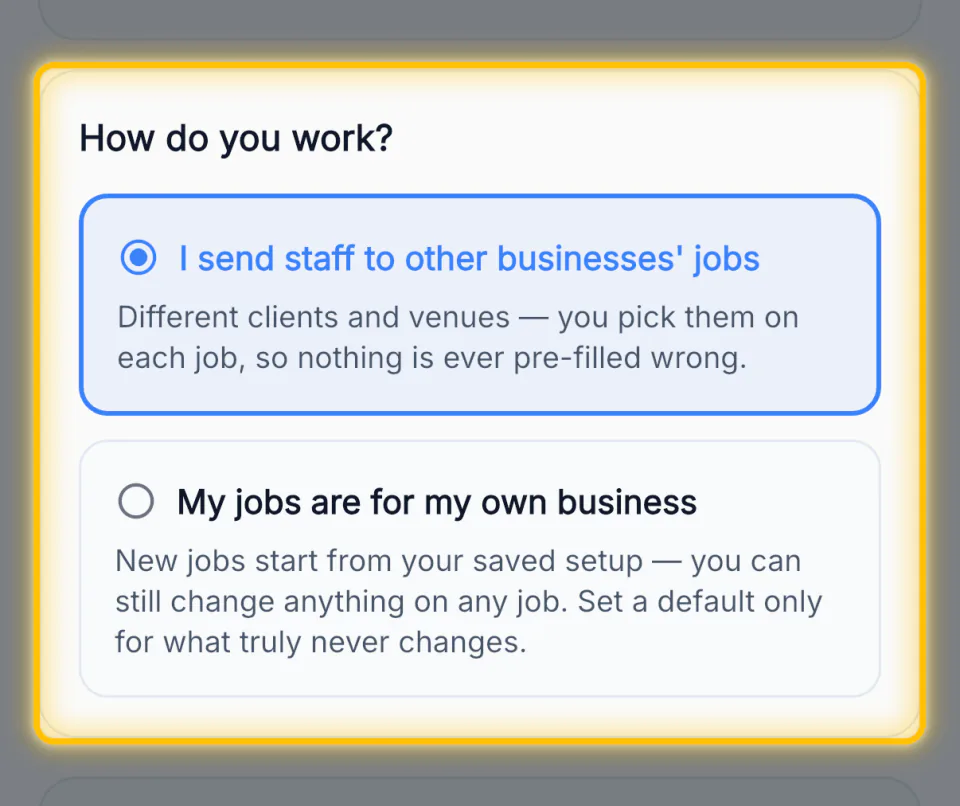
Only the third question branches.
Five steps in total.
No client step — you are the client.
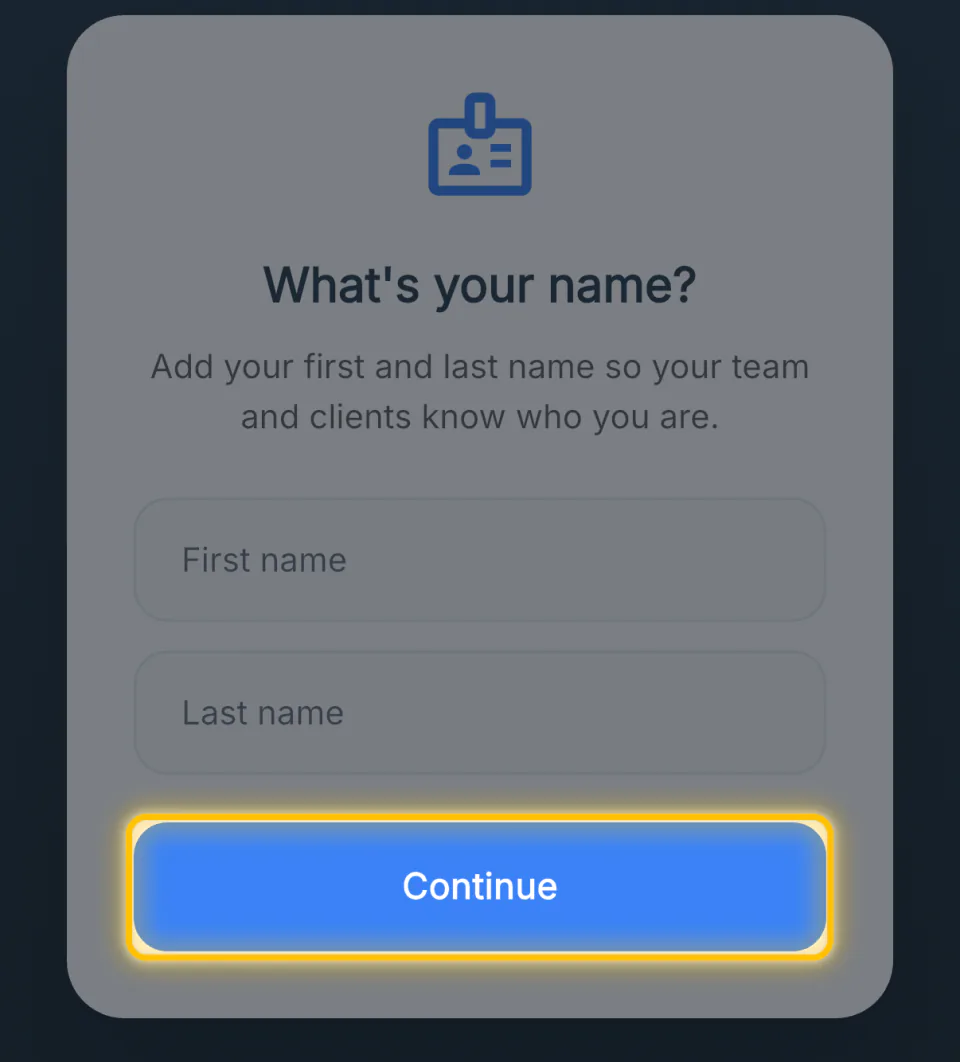
Question 1 · everyone
It goes on every job you post, so staff and clients know who booked them. You cannot get past this screen without it.
Question 2 · everyone
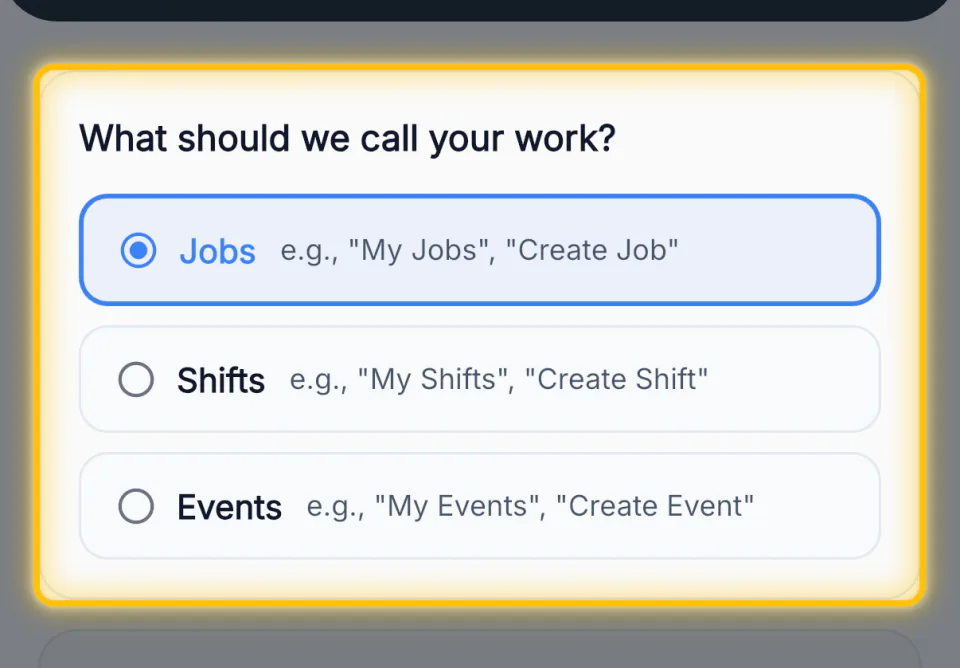
Jobs, shifts or events. It rewrites every button and label — on this device only. It is a local preference, not an account setting, so a second phone asks again.
Question 3 · the fork
I send staff to other businesses' jobs — different clients and venues, so nothing is pre-filled. Five steps.
My jobs are for my own business — new jobs start from your saved setup. Four steps.
Step 1 · both paths
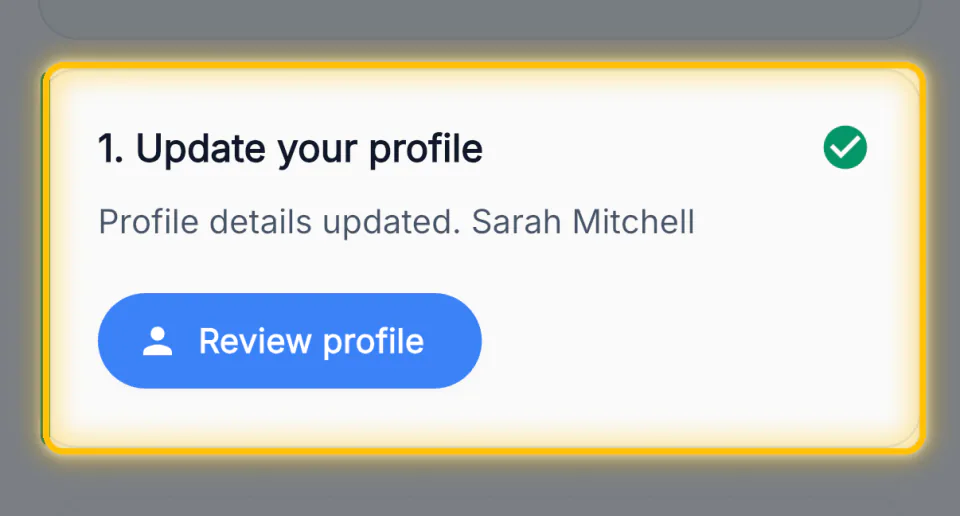
The first numbered step, and usually already green — the name screen filled it in. Tap Review profile to add a photo and a phone number.
Right after step 1 · both paths
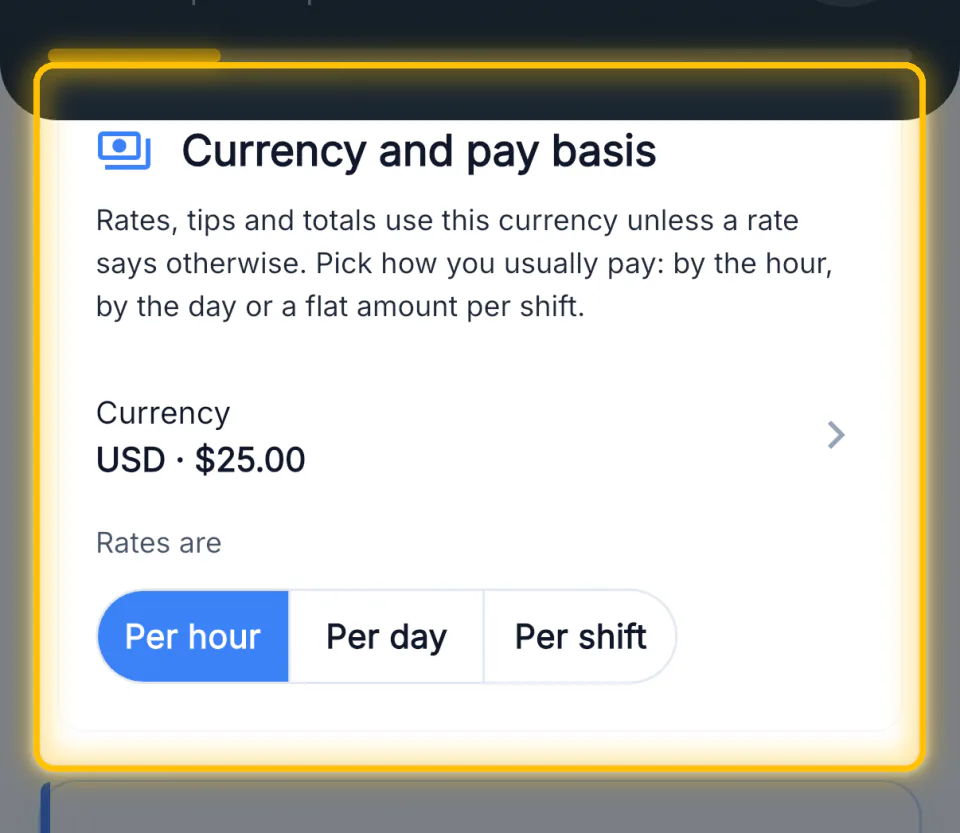
It sits between your profile and step 2, and it is not numbered. Every rate, tip and total uses this currency unless a rate says otherwise. Then pick how you usually pay: by the hour, by the day, or a flat amount per shift.
Path A
Five steps. Your crew and your clients are two different lists, and keeping them apart is the whole point.
Agency · step 2 of 5
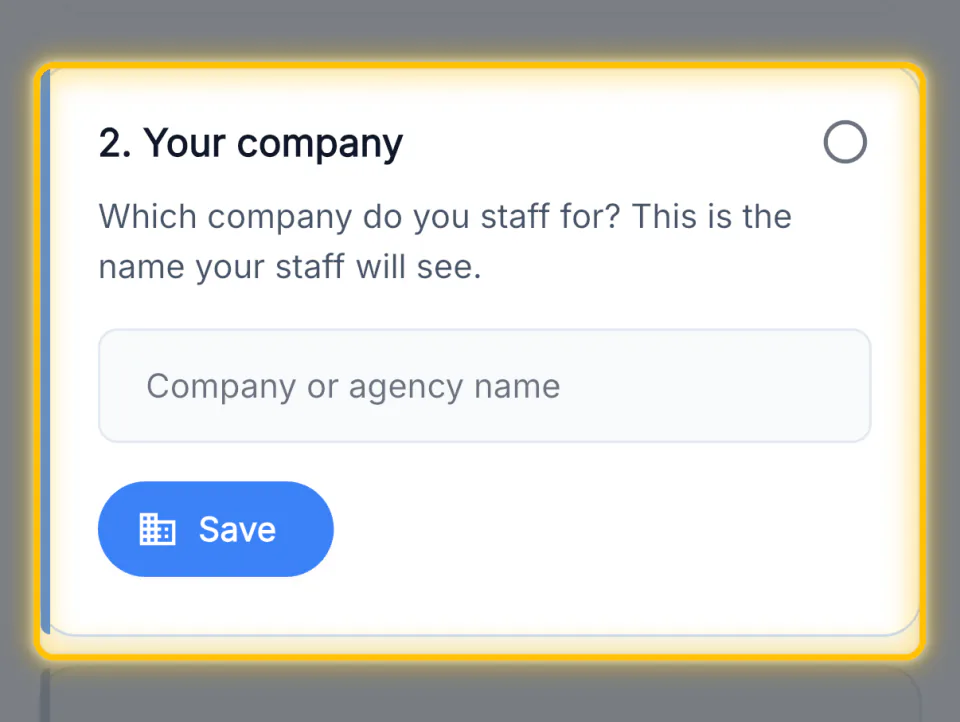
Which company do you staff for? This is the name your staff will see on every job you post.
Agency · step 3 of 5
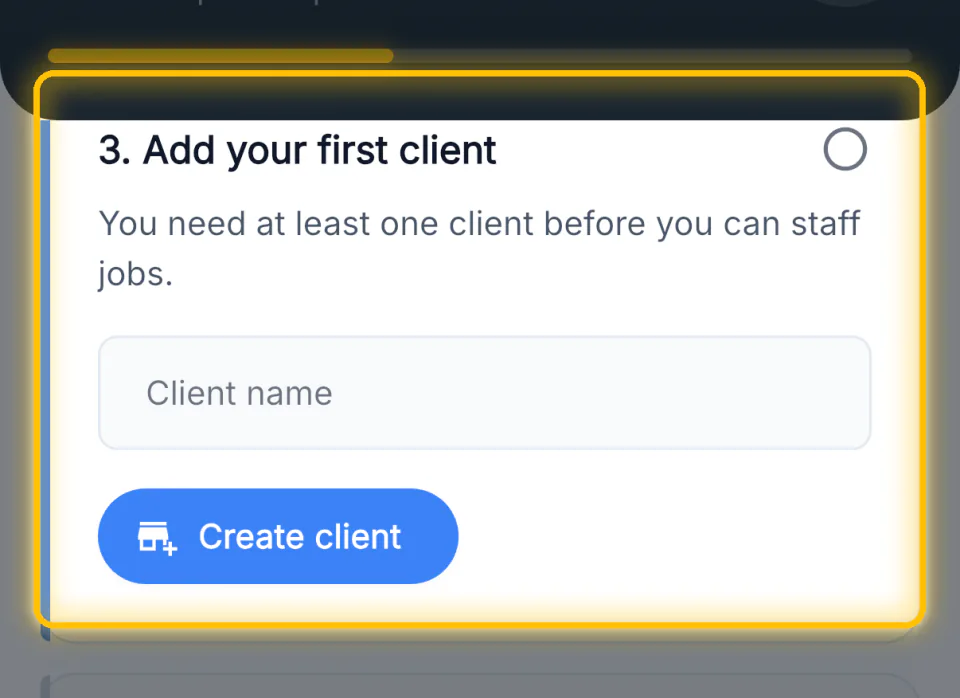
You need at least one before you can staff anything. Pick whoever you work with most.
Agency · step 4 of 5
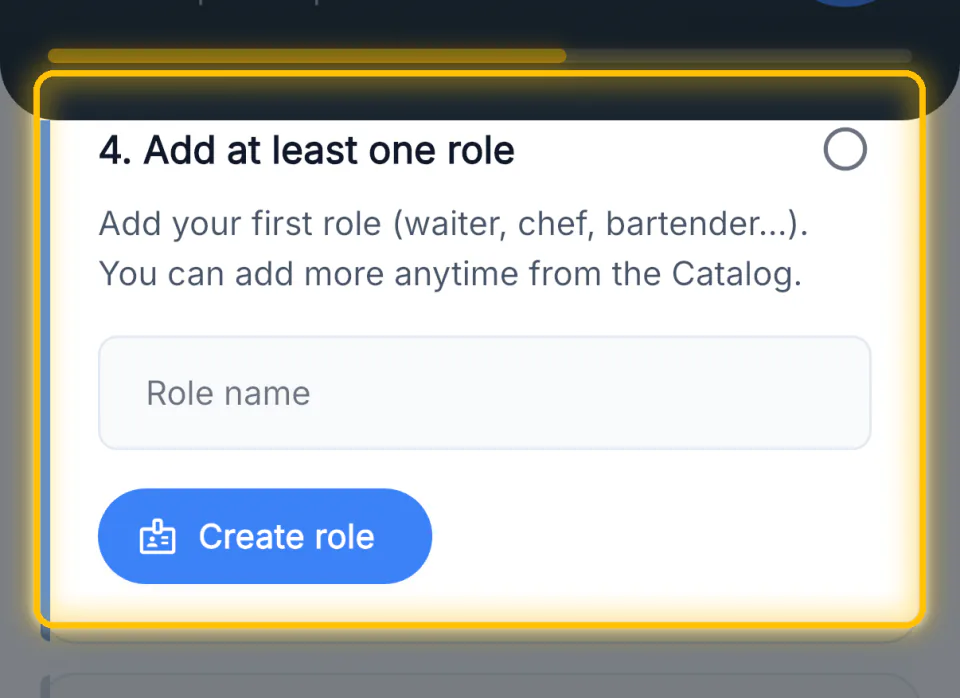
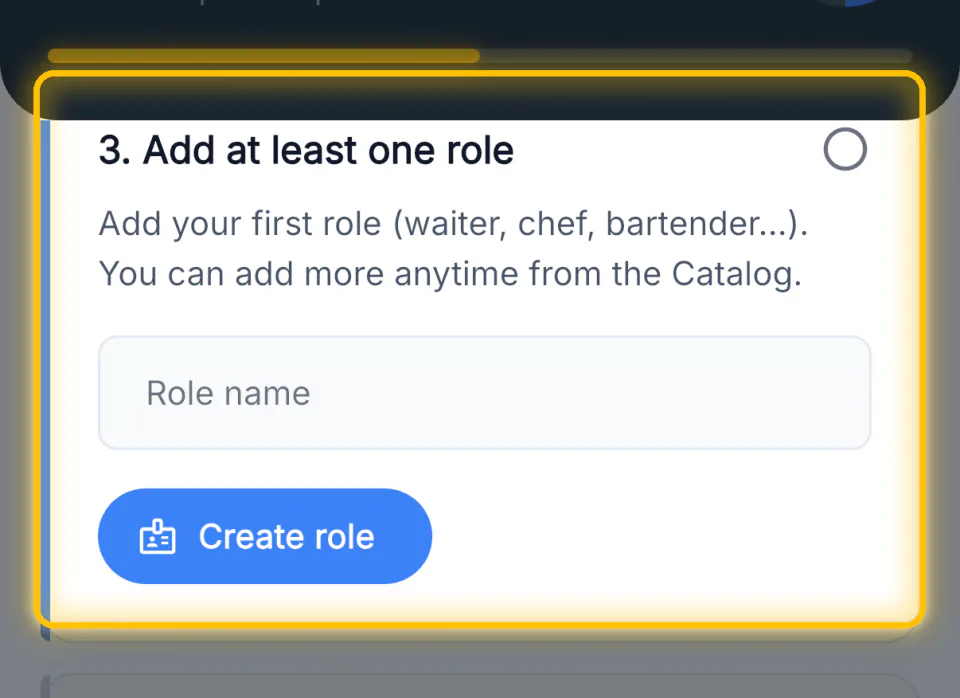
A role is a job title you hire for. One is enough to finish; the rest go in the Catalog whenever you need them.
Agency · step 5 of 5
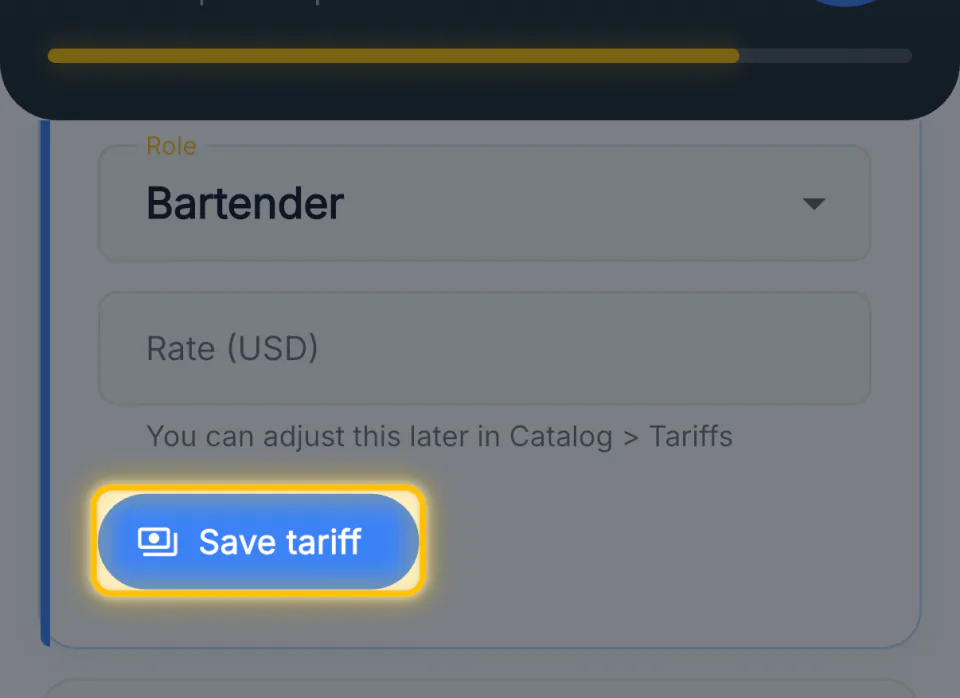
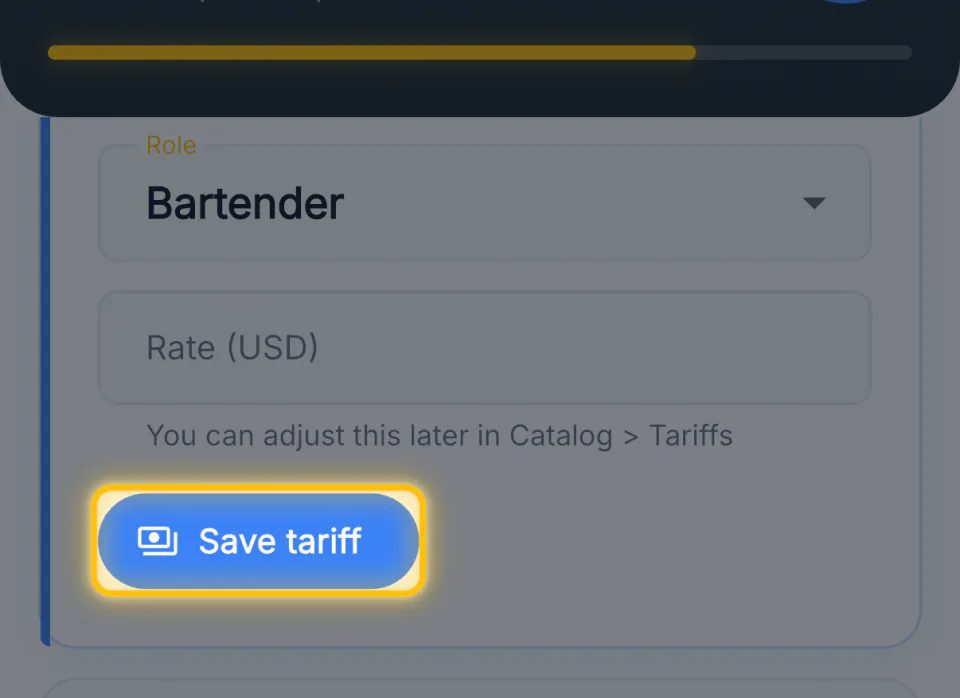
What the role pays, in the currency and basis you picked earlier. From here it fills itself in on every job.
Path B
Four steps. You are your own client, so team and client become one thing: your business.
Solo · step 2 of 4
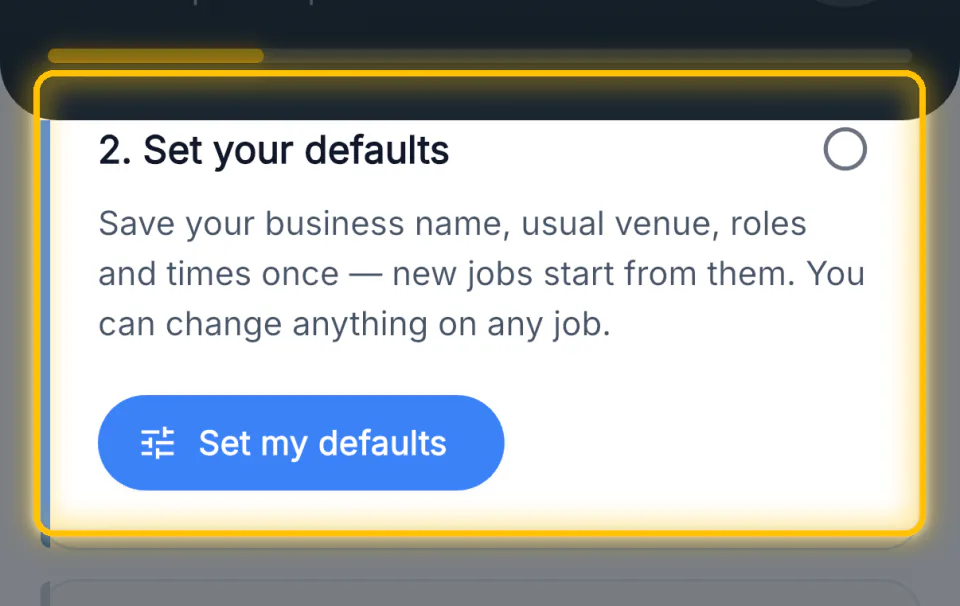
Business name, usual venue, roles and times — saved once. New jobs start from them, and you can change anything on any job.
Inside the sheet · 1 of 2
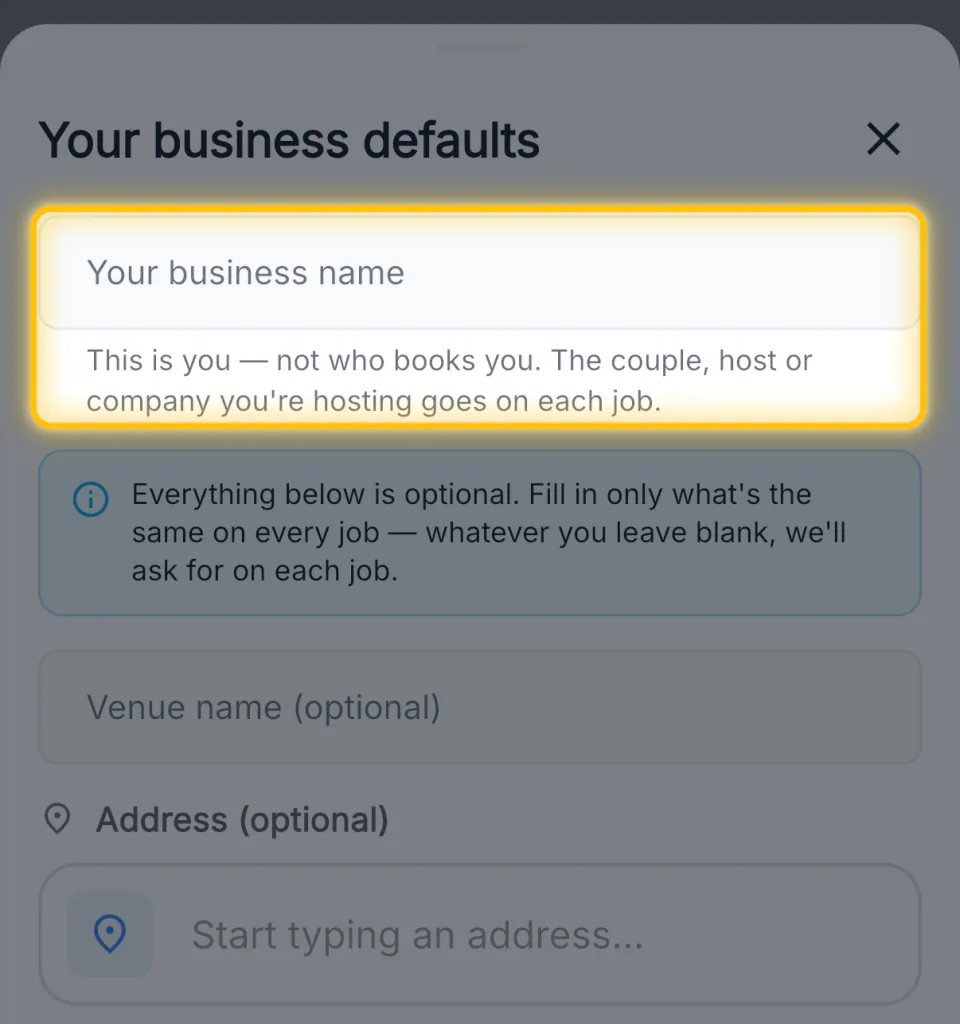
Your business name is you — not who books you. The couple, host or company you are hosting goes on each individual job.
Venue name and address are optional. Fill them in only if it is genuinely the same place every time.
Inside the sheet · 2 of 2
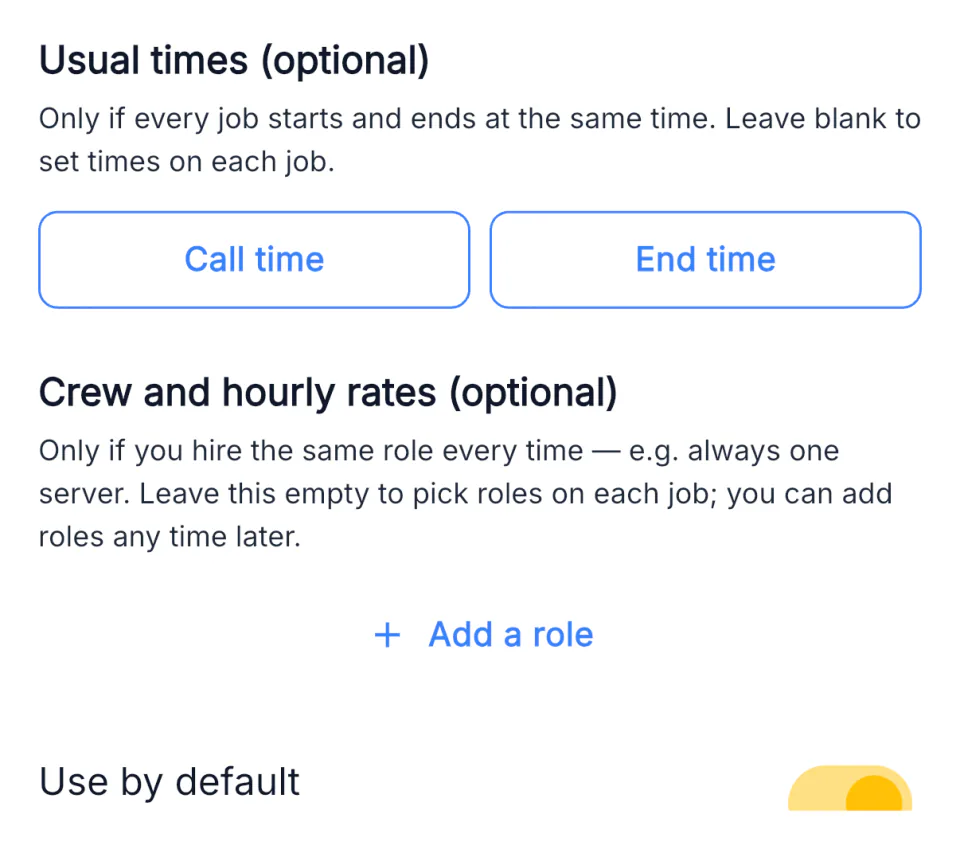
Usual times — a call time and an end time, only if every job really runs the same hours. Most do not.
Crew and hourly rates — only if you hire the same role every time, say always one server. Leave it empty to pick roles per job.
Solo · step 3 of 4
The same card the agency path shows, one number earlier. A job title you hire for.
Solo · step 4 of 4
What that role pays. Save it and the checklist is finished.
One preference · both paths
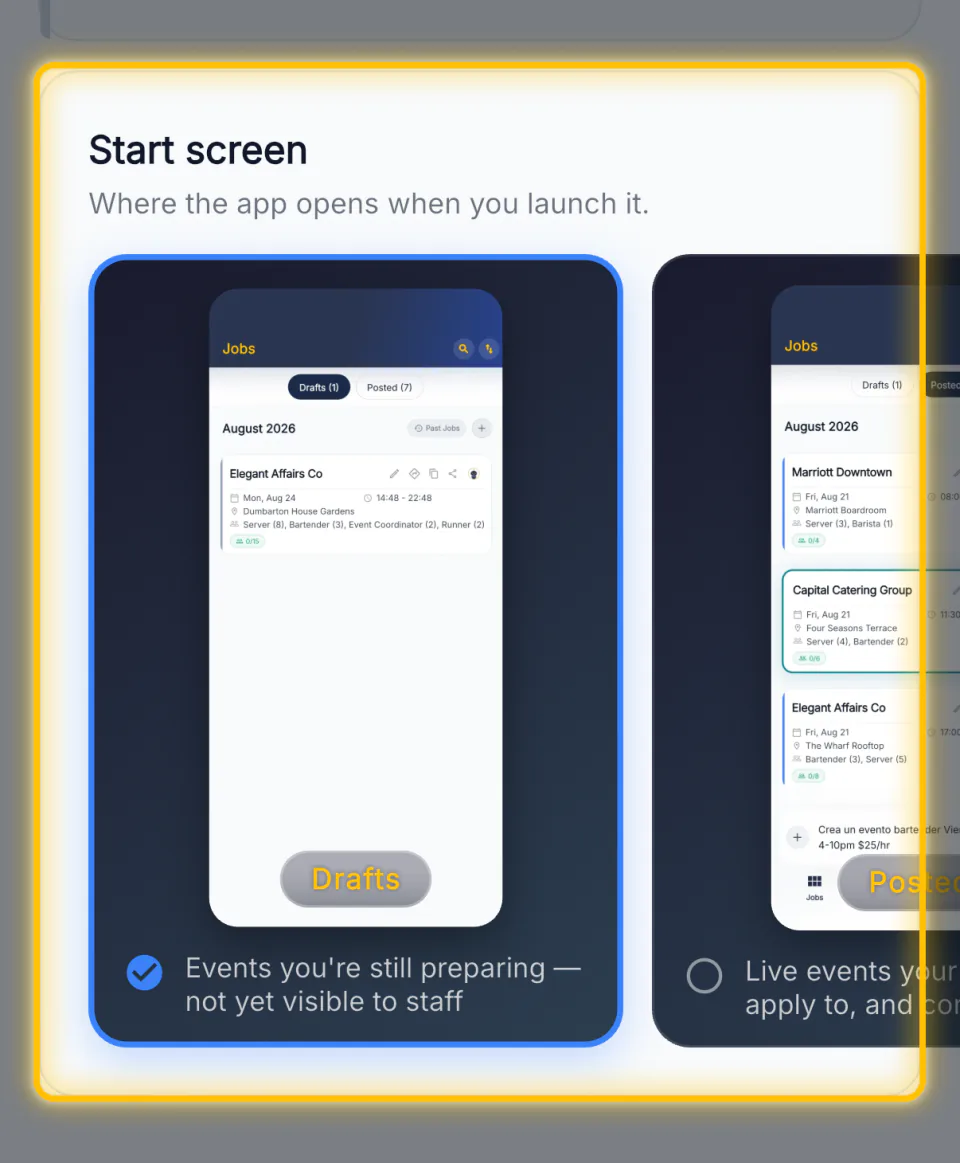
Drafts for jobs you are still preparing, not yet visible to staff. Posted for live jobs your staff can see and accept.
Done
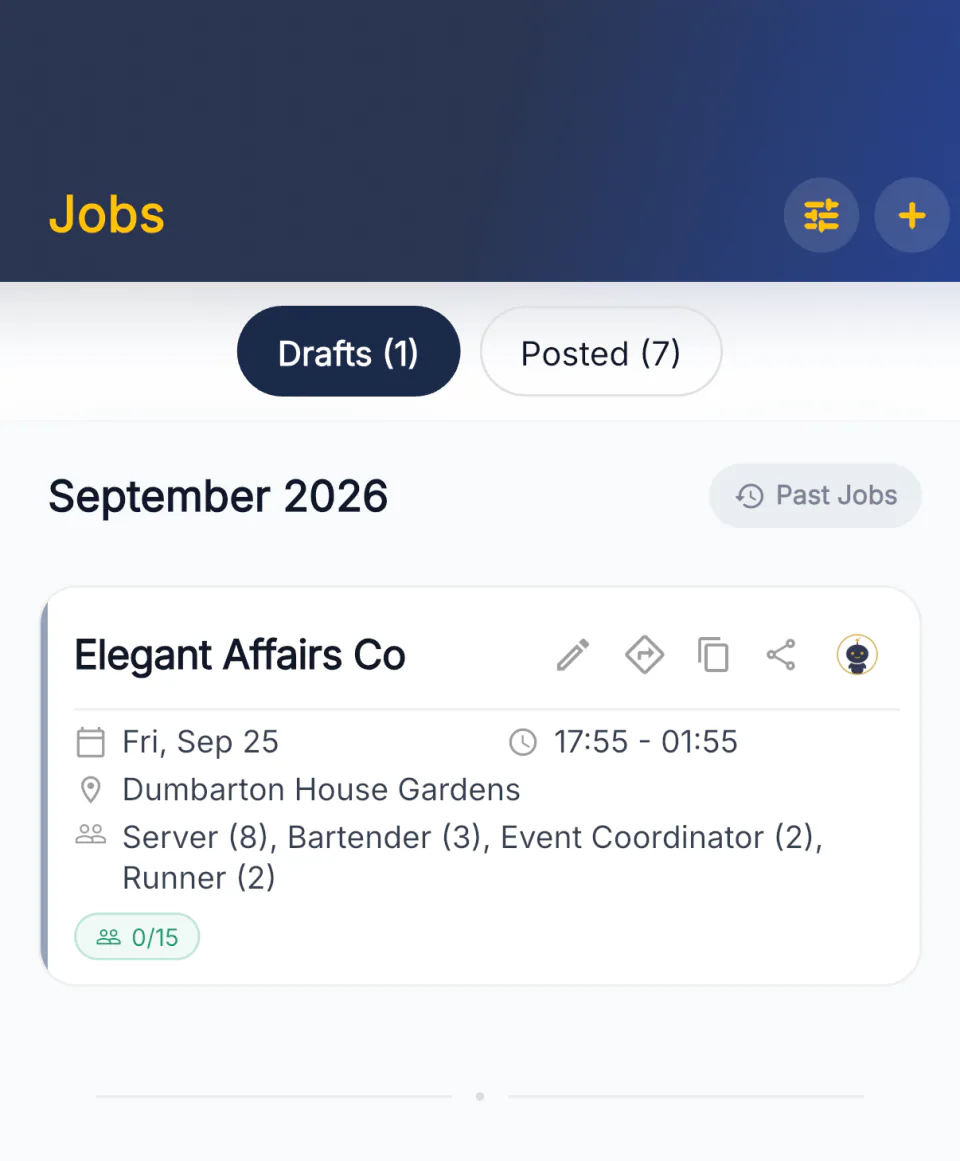
Every box ticked unlocks the full dashboard: build a job, post it to your team, watch it fill, approve the hours.
| Order | Agency (5 steps) | Solo owner (4 steps) |
|---|---|---|
| Q1 | Your name | Your name |
| Q2 | Call the work jobs, shifts or events | Same |
| Q3 | I send staff to other businesses | My jobs are for my own business |
| Step 1 | Update your profile | Update your profile |
| Then | Currency and pay basis | Same |
| Step 2 | Your company | Set your defaults |
| Step 3 | Add your first client | Add at least one role |
| Step 4 | Add at least one role | Set your first tariff |
| Step 5 | Set your first tariff | — |
| After | Start screen | Start screen |
6 minutes max either way.
Manager onboarding, end to end
The three questions, then step one and the currency card everyone shares
1Manager onboarding, end to endThe agency path: five steps, company and client kept apart
8The staffing agencyThe solo path: four steps, defaults instead of a client
13The solo ownerFinishing: where the app opens, and what unlocks
19Where the app opens.